Composting is a natural way to take organic material like food scraps and garden materials and turn them into a natural soil amendment called compost.
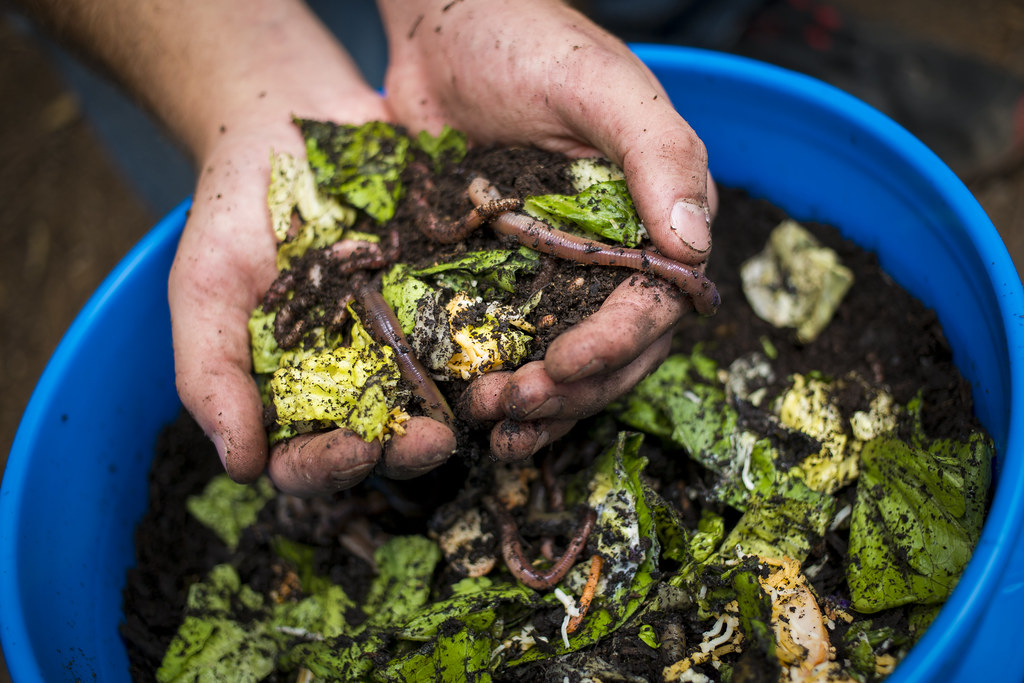
Vermicomposting is the process of using worms to turn these materials into a specific type of compost called castings, or worm poop.
Here are some basics of vermicomposting at home, which our Master Composters explain in depth at our vermicomposting classes the first Saturday of every month during spring, summer and fall.
Here are some basics of vermicomposting at home, which our Master Composters explain in depth at our vermicomposting classes the first Saturday of every month during spring, summer and fall.
Follow these guidelines and watch this video to get you started in your journey with worm composting.
What is vermicompost
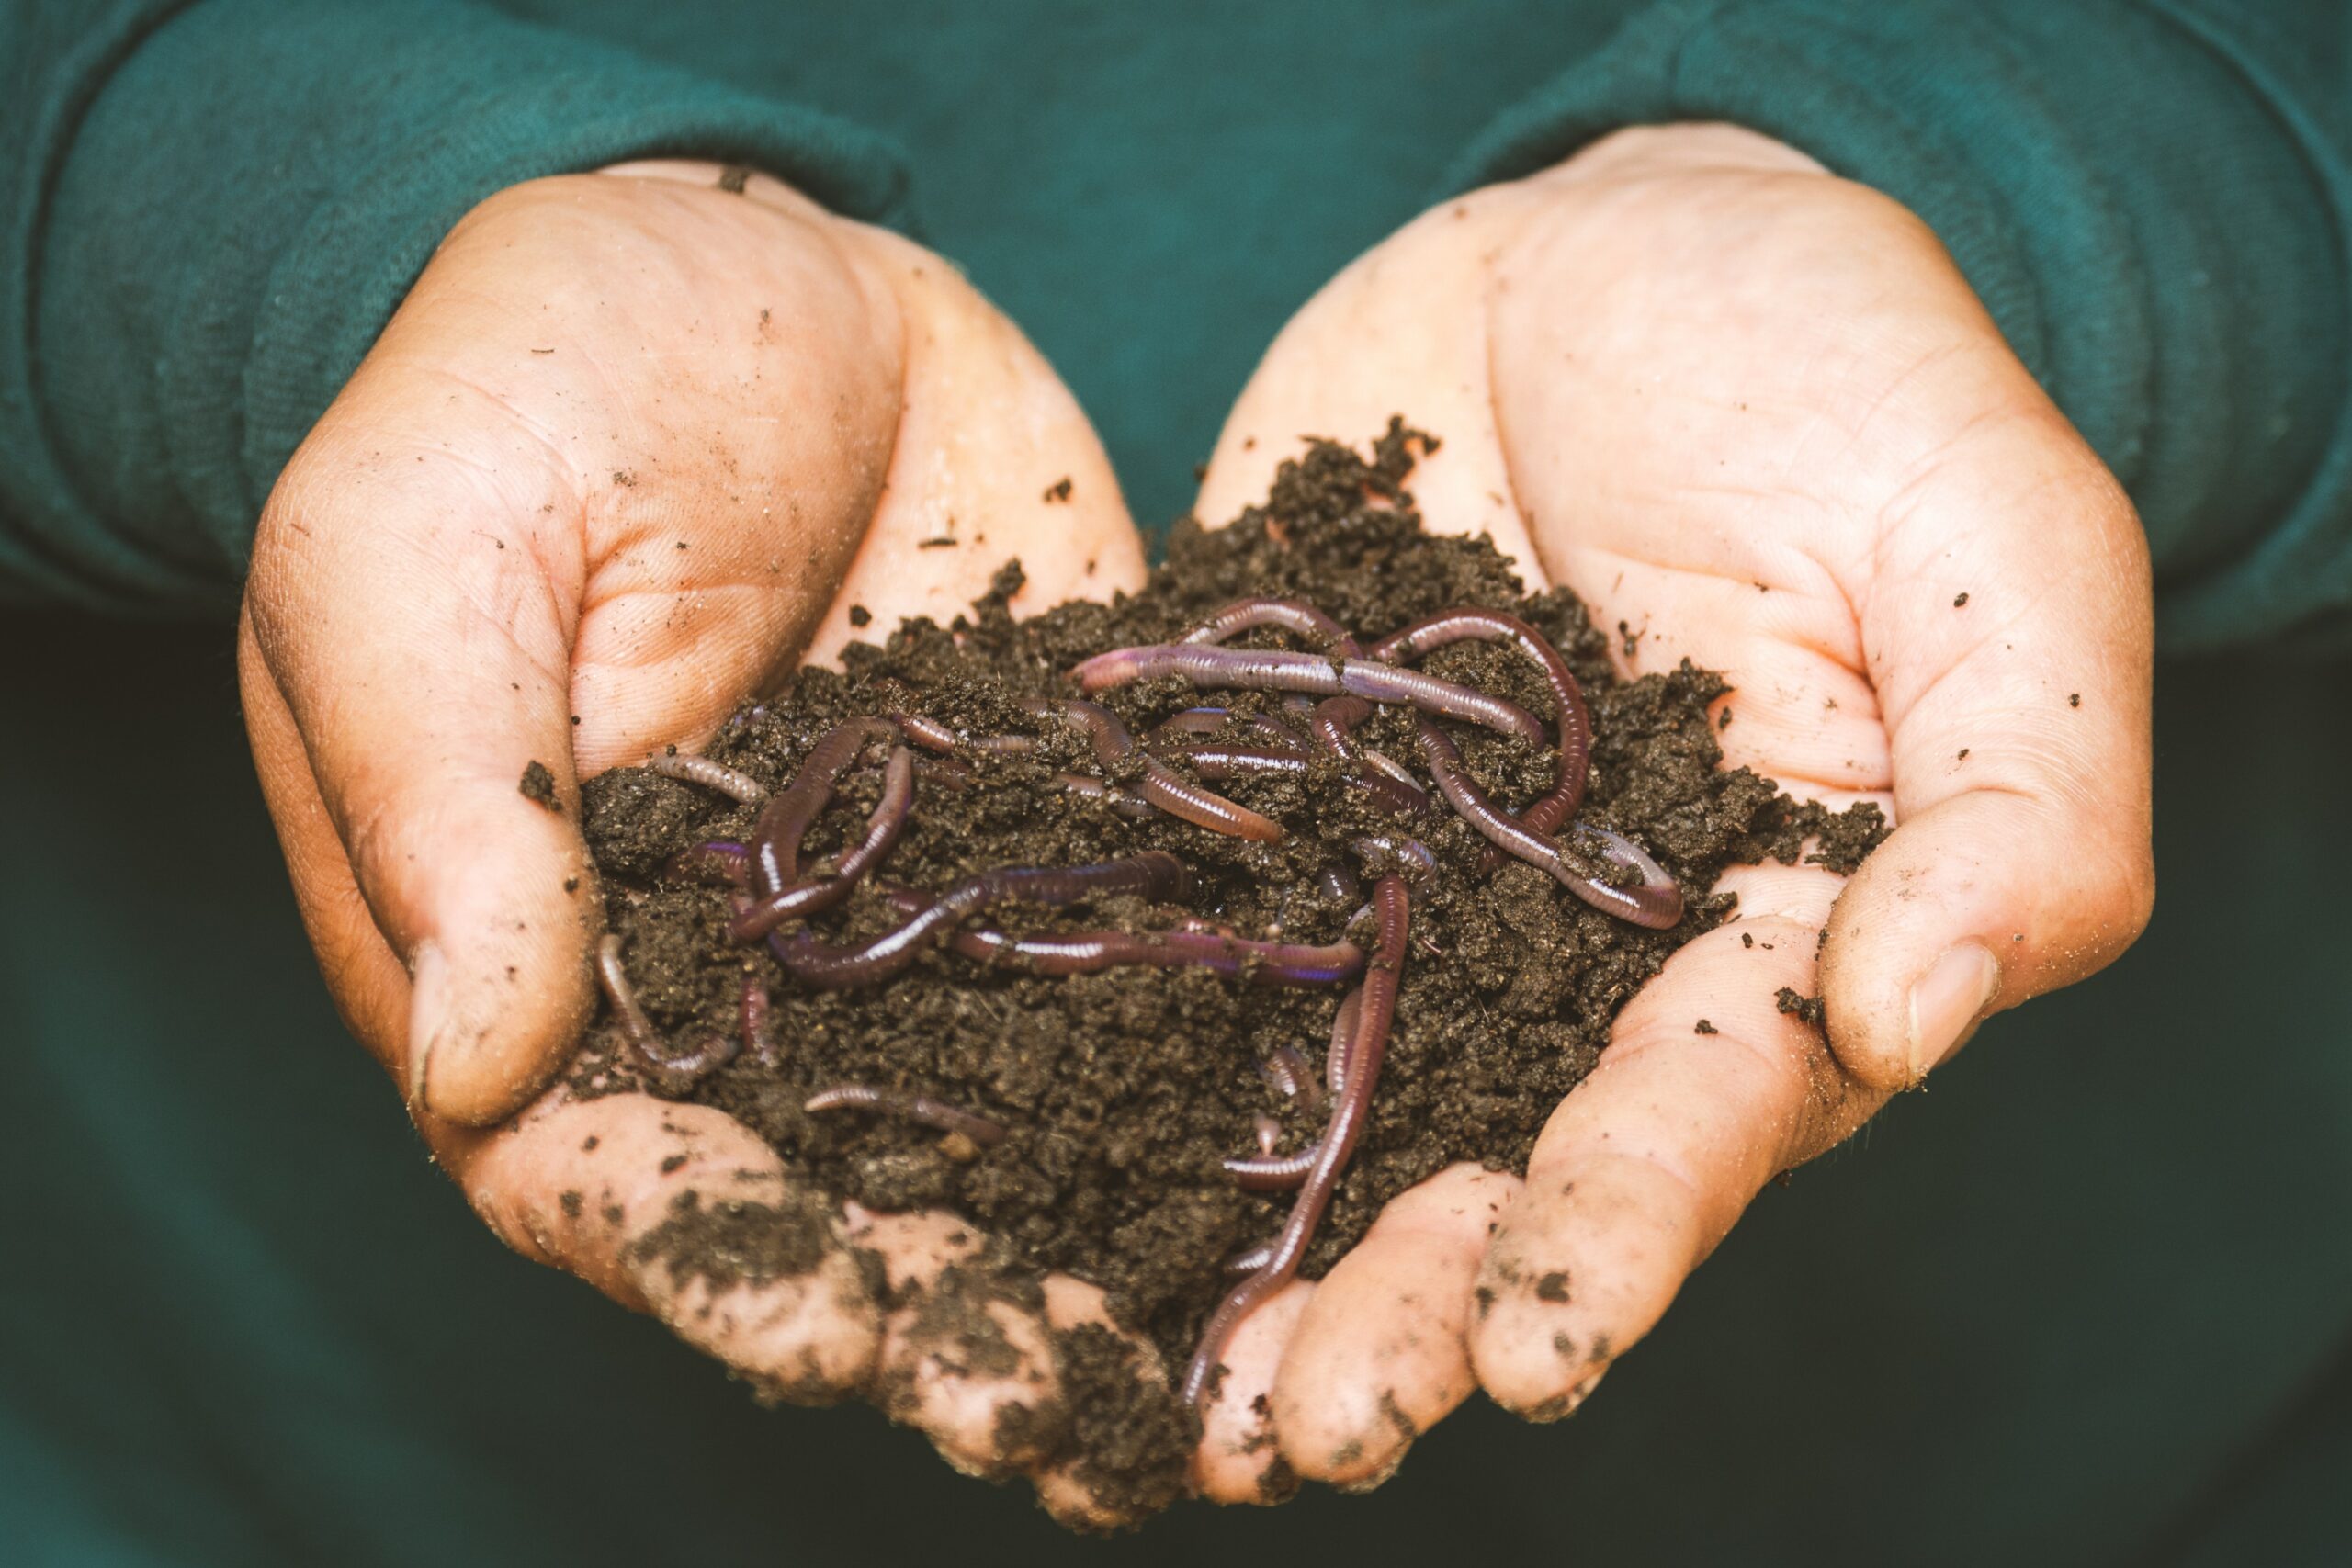
Vermicompost, or ‘worm castings’, is worm manure, the end result of worms eating food scraps and garden waste, digesting it and turning it into a soil-looking material with high levels of nutrients and beneficial fungus and bacteria that allow plants to easily access nutrients, making it a great soil amendment to improve the health and growth of your plants, indoors or outdoors.
What kind of worms should you use?
The most commonly used worm for home vermicomposting is the Red Wiggler worm. This is different from an earthworm, which does not thrive in captivity.


The Ideal Home for Red Wiggler Worms
Worms prefer a temperature range between 55-77 degrees fahrenheit (13-25 celsius) and a moist environment. You can build a home vermicomposting bin to suit these needs with simple materials:
- A shallow wide tub – drill holes all around the container to allow air flow
- A bottom liquid catcher – worm bins produce ‘worm leachate’ that settles at the bottom of the bin. You can dilute this and use it to water your plants.
- A lid – Keep the lid ajar to allow air flow
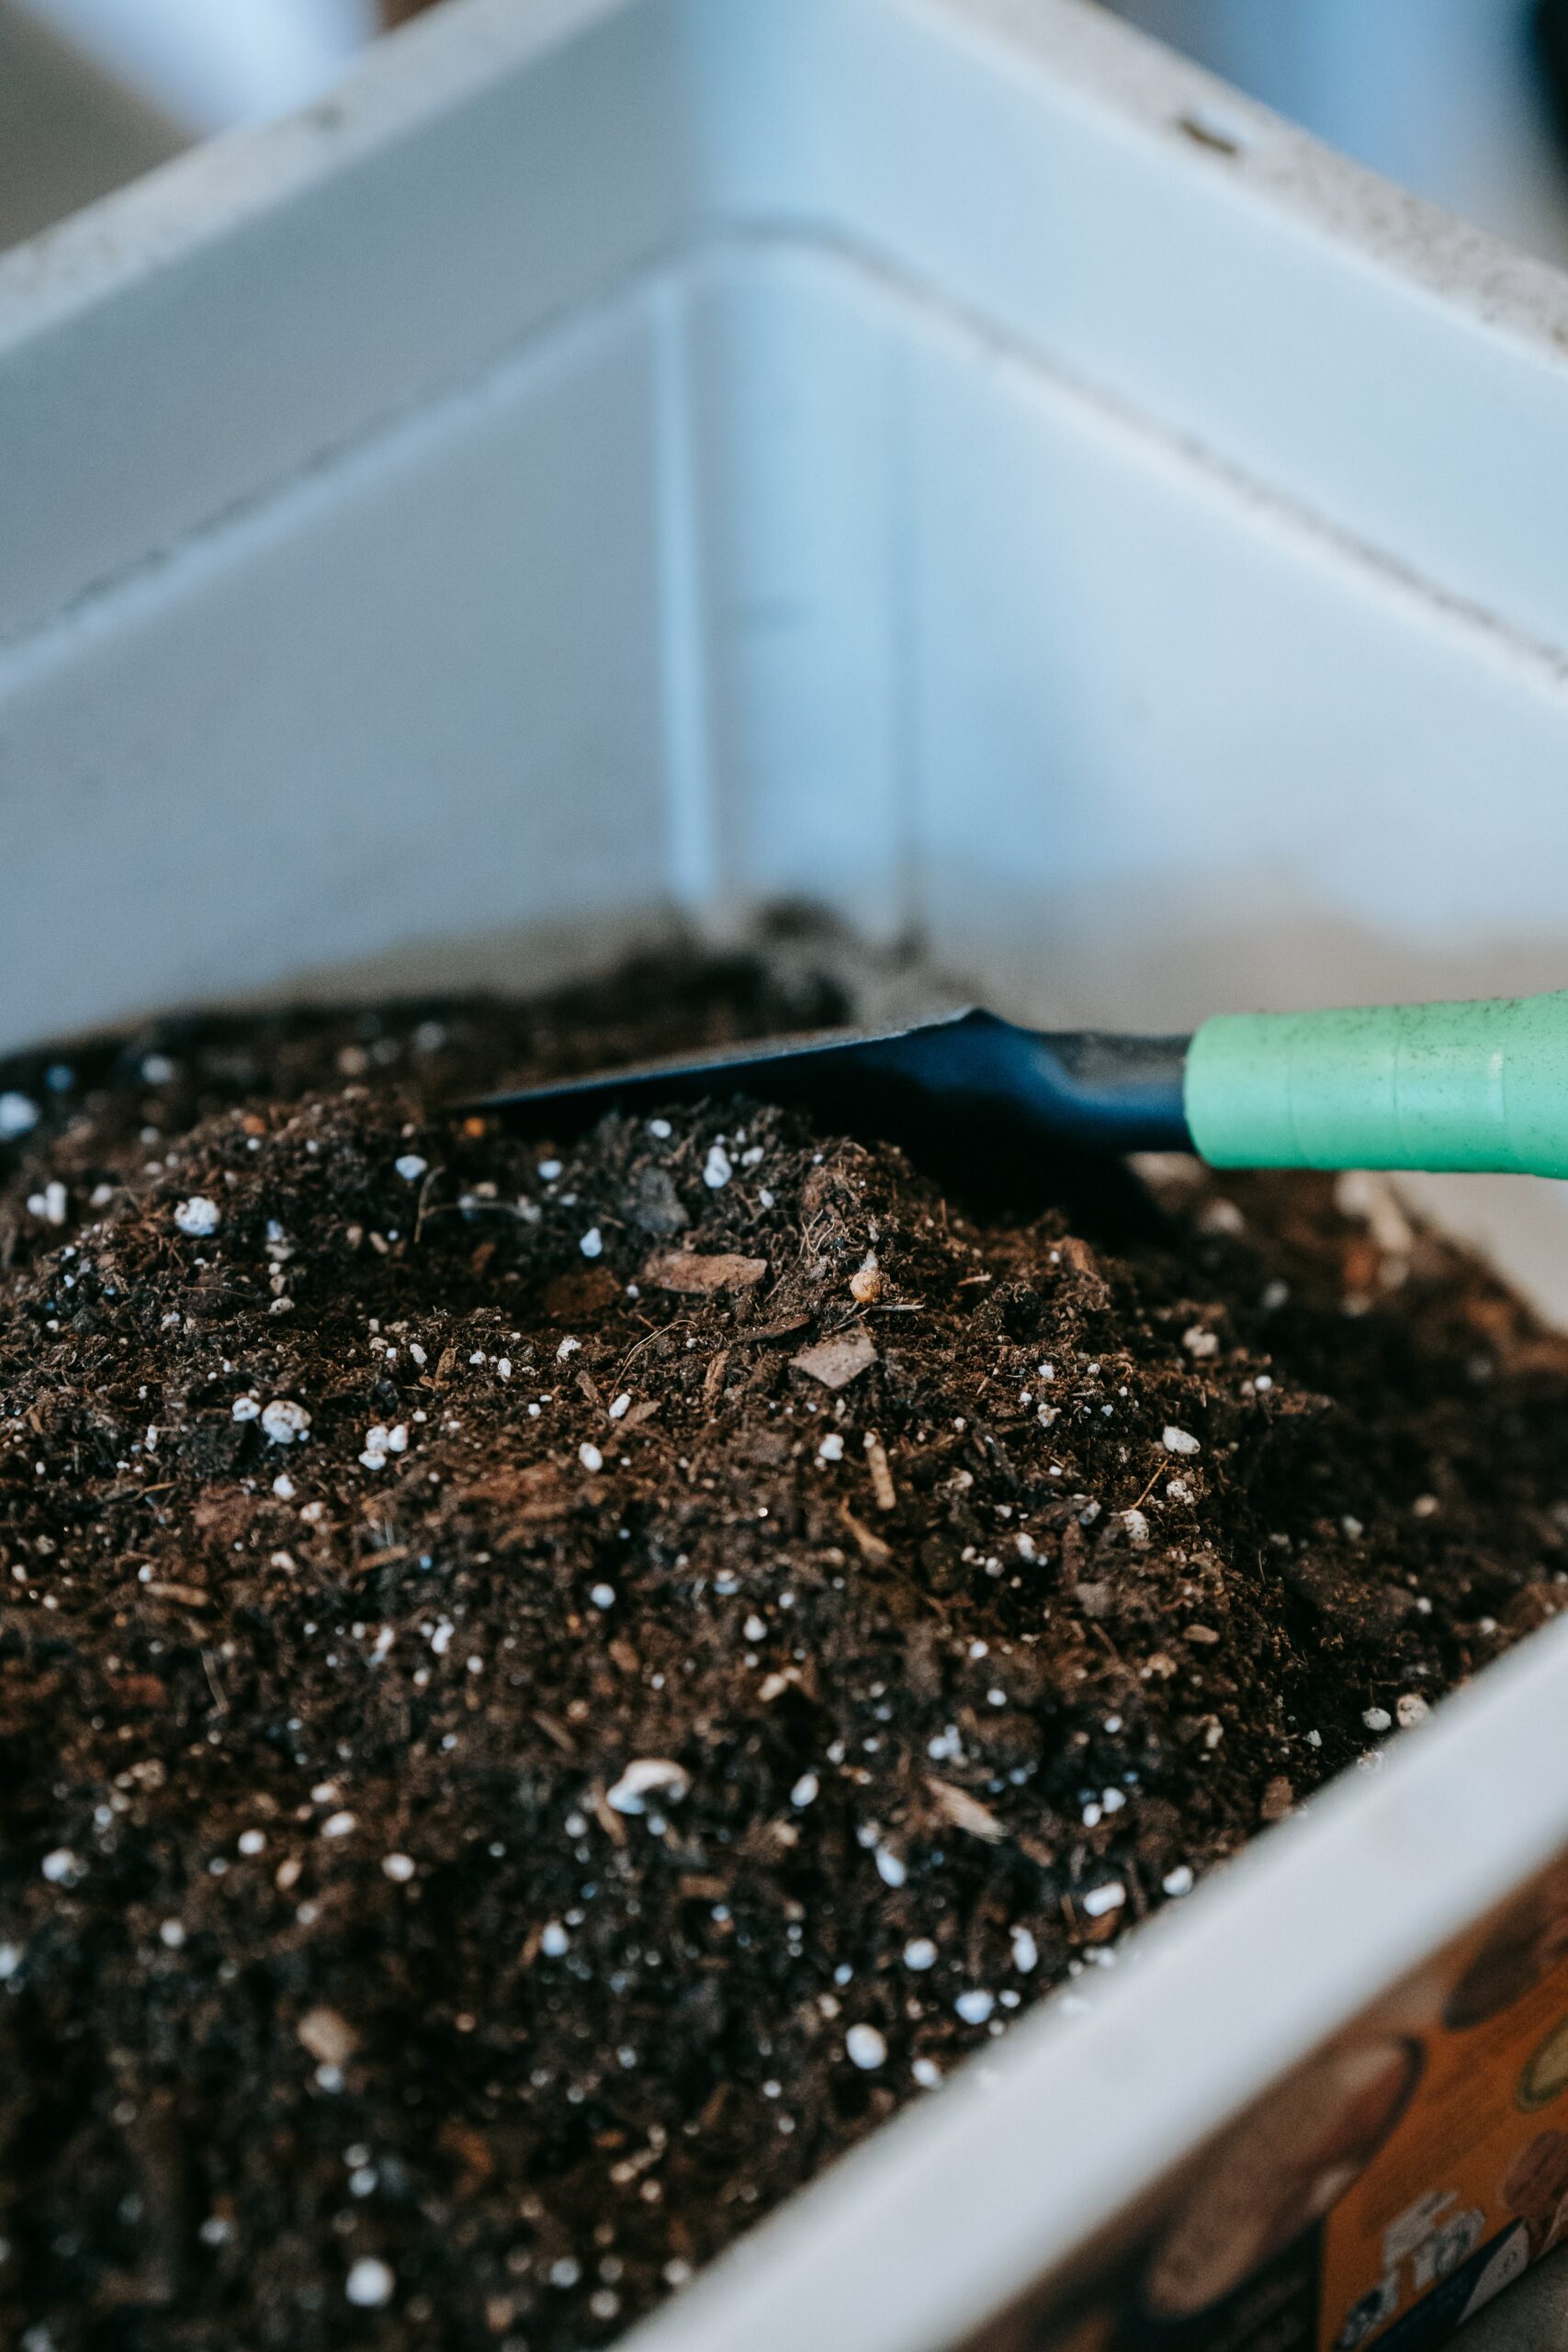
Bedding: the ideal bedding is made of ‘brown materials’ like newspaper (non-glossy), brown recycled paper, unbleached paper, dried leaves, cardboard, or egg cartons, wet like a wrung out sponge but not soaked that could drown the worms because they breathe through their skin.
What do they eat?
Red wiggler worms have a wide plant-based diet. No meat or dairy products, the only animal product they eat is eggshells. They also stay away from citrus fruits, garlic or onions, spicy peppers, all of which irritate their skin. They also eat unbleached paper, dried leaves, and the different materials used to make their bedding.
You can feed your worms a pint of food scraps once every couple of weeks, making sure they have consumed their previous meal. Too much food scraps can bring unwanted smells and critters, for that same reason make sure to bury the food scraps under the bedding.
How to Harvest the Castings
Stop feeding and watering the bin a week before you plan to harvest the castings, to allow it to dry out a bit to make it easy to separate the castings from other material and from the worms.
- Build a mount and allow light to hit the worms, they will scurry down to hide from the light making it easier to leave them behind.
- Use a colander or similar tool to sift through the castings leaving behind large pieces of food scraps or bedding.
How to Use the Castings
Castings are nutrient-dense, heavy on nitrogen that can burn your plants if added in high amounts. It is a great fertilizer used in small quantities:
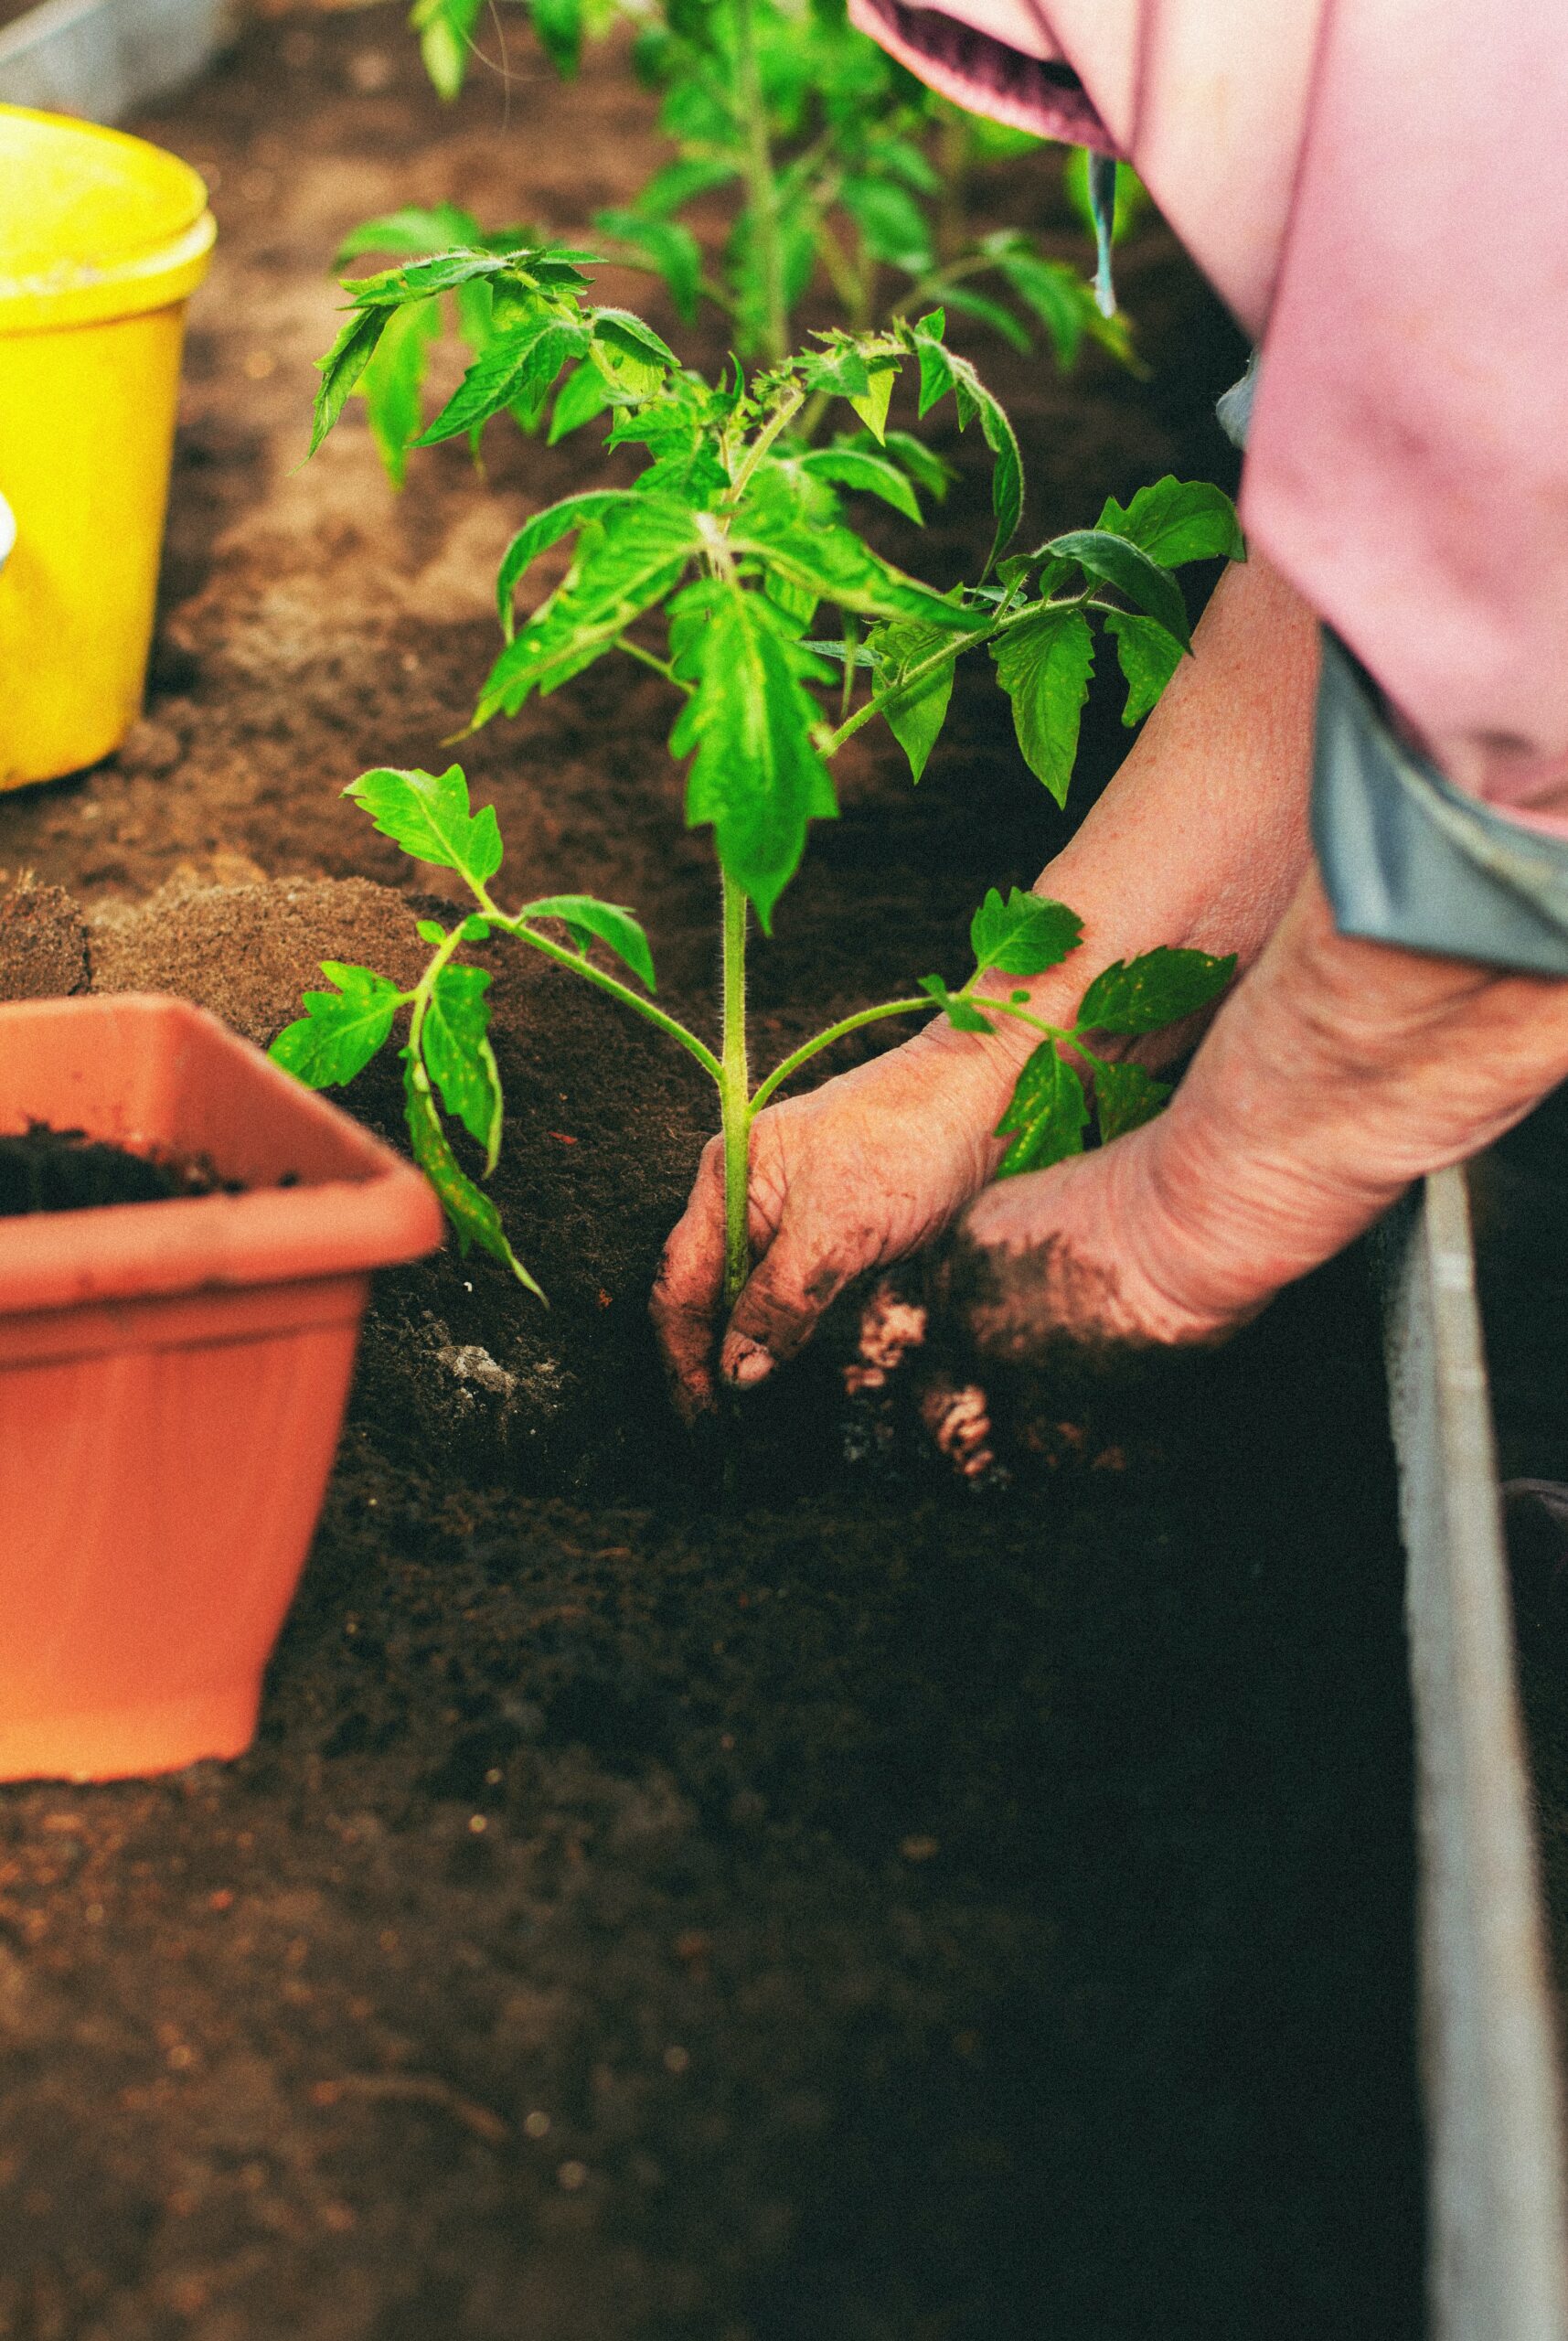
- Top dressing: sprinkle a small amount of castings at the base of bushes or around vegetable plants and lightly work into the soil
- Casting tea: in a 1:3 castings to water ratio, dilute the castings and let the mixture rest overnight. Apply directly to the root base of the plants.
- Soil amendment: Add worm castings directly to the soil where you are planting, about 10% of the soil mass.
Keep your fully-dried castings in a container in a cool-dry area, and use it throughout the growing season for outdoor plants. Apply to indoor plants every couple of months to boost their growth throughout the year.
Learn more about our composting classes here.


